Recently participated in the azure challenge at http://www.meetwindowsazure.com/fast/challenge
I created a word press site for this challenge , uploaded the video and Yo got the T-shirt as well.
I will list out the steps to create the site here. For everyone's benefit I have uploaded the video for this towards the end of the blog.
Steps to create WordPress site using Windows Azure:
I hope you have a windows azure account .
Step 1: Log in to Windows Azure Portal
Step 2: From the landing Page click on "Create an Item"

Step 3: From the next screen , choose Website.

Step 4 : Choose "From Gallery " Option.

Step 5 : Now the screen appears where you can choose and add a web app.
Scroll to the last of the list and Choose WordPress

Step 6 : Click on the arrow button in the bottom right of the screen

Step 7 : In the next screen choose a URL for your website and click next. ( arrow on bottom right)

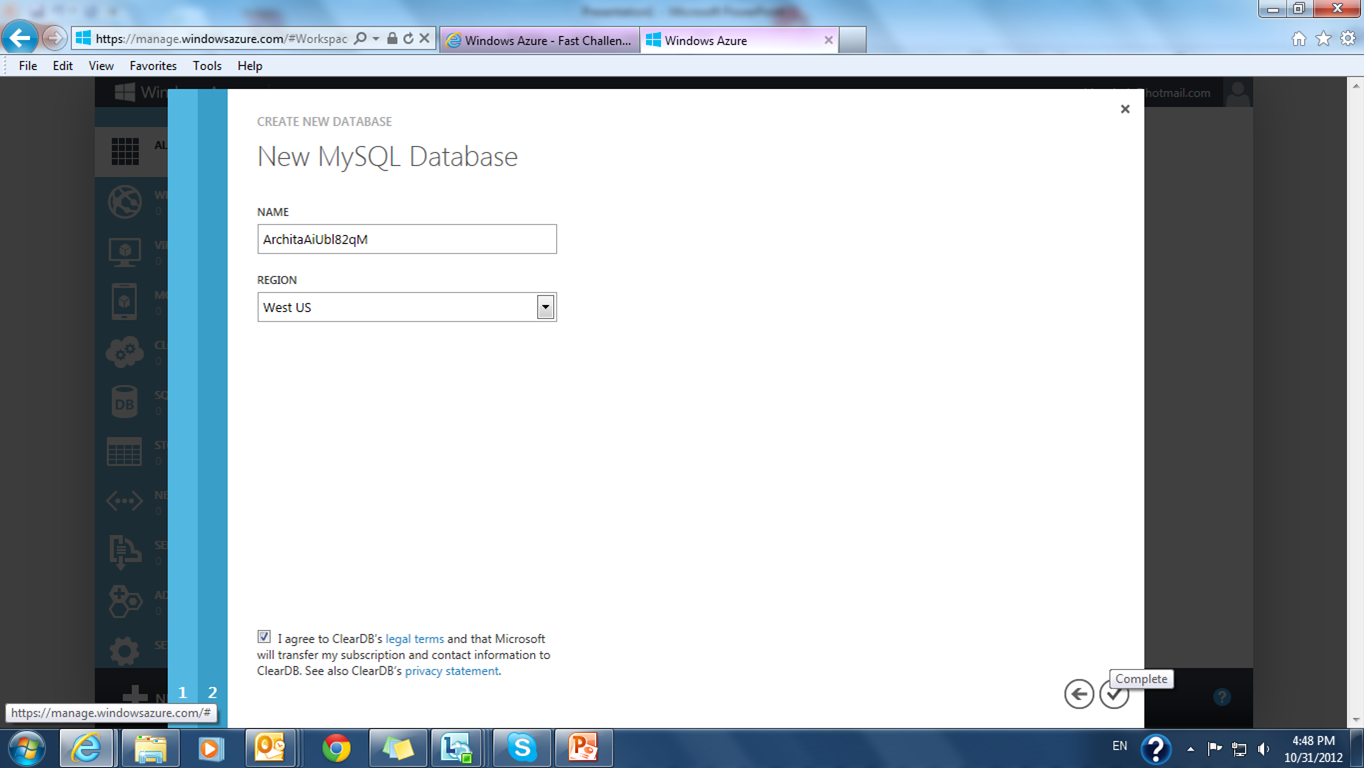
Step 8 : In the next screen give the database name.

Step 9 : Click on the complete button.( the tick on bottom right)
Step 10 : You will be redirected to the websites page. Click on the link to your website.

Step 11: In this step you need to install the WordPress in your web site.
Choose the site name and password.
Note : Userame by default is admin.

Step 12 : Now you can login to WordPress , give the username , pwd and login.

Step 13: From this screen you can change your website settings , look and feel as well write quick posts.

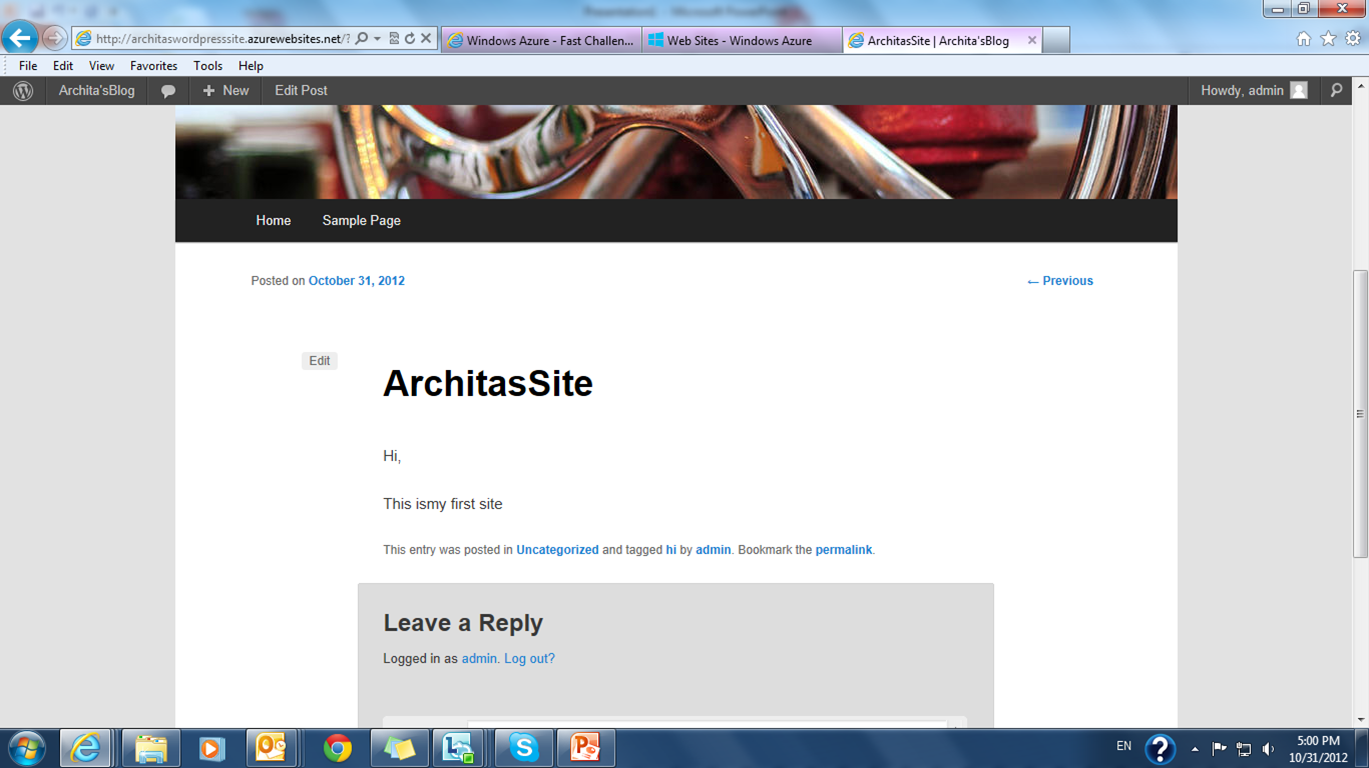
Step 14: Browse to the bottom , type in your post and say publish,

Step 15 : And you are done. Website is ready to be used by the world.
Demo video :
Demo to create a word press site
I created a word press site for this challenge , uploaded the video and Yo got the T-shirt as well.
I will list out the steps to create the site here. For everyone's benefit I have uploaded the video for this towards the end of the blog.
Steps to create WordPress site using Windows Azure:
I hope you have a windows azure account .
Step 1: Log in to Windows Azure Portal
Step 2: From the landing Page click on "Create an Item"
Step 3: From the next screen , choose Website.
Step 4 : Choose "From Gallery " Option.
Step 5 : Now the screen appears where you can choose and add a web app.
Scroll to the last of the list and Choose WordPress
Step 6 : Click on the arrow button in the bottom right of the screen
Step 7 : In the next screen choose a URL for your website and click next. ( arrow on bottom right)
Step 8 : In the next screen give the database name.
Step 9 : Click on the complete button.( the tick on bottom right)
Step 10 : You will be redirected to the websites page. Click on the link to your website.
Step 11: In this step you need to install the WordPress in your web site.
Choose the site name and password.
Note : Userame by default is admin.
Step 12 : Now you can login to WordPress , give the username , pwd and login.
Step 13: From this screen you can change your website settings , look and feel as well write quick posts.
Step 14: Browse to the bottom , type in your post and say publish,
Step 15 : And you are done. Website is ready to be used by the world.
Demo video :
Demo to create a word press site